
Introduction
To begin this treehouse page, I brainstormed, seeking ideas for an investigation page. I had several ideas that were more observation-based, such as visiting the zoo to observe a primate, but with the temperature climbing to between 102 and 110 each day, visiting the zoo held little appeal. So I decided to construct an investigation page using my prior knowledge about what makes a primate a primate and illustrate the features with pictures whenever possible. I felt well prepared to construct such a page because I taught Primatology in summer 2004 and have both Powerpoint notes and several books that discuss the features that distinguish primates from other mammals.
- How I followed the 11 "Steps for Building Your Treehouse"
- How I progressed through the 8 Steps in the Treehouse Editor
Following the 11 "Steps for Building Your Treehouse"
Step 1: Choose what type of treehouse you will create
I bypassed this step because I had already chosen to do a Treehouse Investigation, since this is the type of treehouse that will most likely be made by students
Step 2: Brainstorm and plan
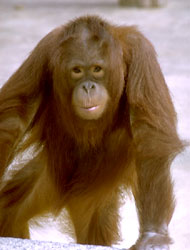
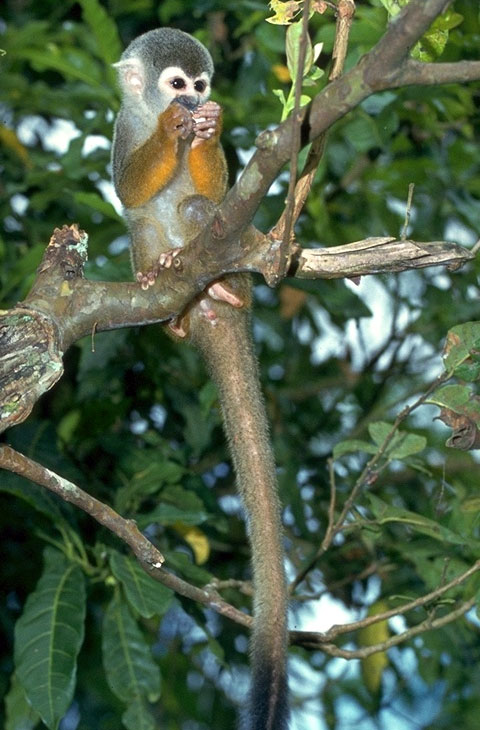
I made a brainstorming web with the title of my treehouse ("What makes a primate a primate?") in the center and diffferent bubbles for each of the main treehouse pieces - Text, Images, Audio, Video, References, Information on the Internet, and Group of Organisms. I had a rough idea of what my text would be and that images would illustrate each point, and that there probably would not be audio or video. I already had three references and searched the net as I set up my brainstorming web to come up with a few internet sites. The Group was simple - I wanted to attach this page to the Order Primates.
Step 3: Familiarize yourself filling out the steps for building your treehouse off-line
I printed out a blank copy of the treehouse editor form (as instructed in Step 3) but didn't really know what to do with it, as I didn't yet have any text or anything to fill in a practice form.
Step 4: Write a rough draft
I created a rough draft in Word. As suggested, when I wanted to insert an image in the text, I just typed TOLIMG as a placeholder along with what I wanted that image to depict.
Step 5: Create a story board
I didn't really ever create a story board - over the course of site construction I decided that I wanted bulleted lists of features split up by small tables that contained images of what I had just talked about in the bulleted list.
Step 6: Compile Media
- The TOL media library (most images)
- Images in the public domain (a few images)
- Images on the Internet, not in the public domain and requiring copyright holder permission (still in process)
- Images or movies that I took myself (still in process)

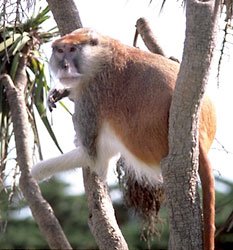
Erythrocebus patas© 2001 courtesy CalPhotos
I was looking for primates showing specific features, though, like their teeth or upper arm mobility, so I searched images in the public domain to see if I could find pictures of primates showing features I couldn't glean from the TOL image library. I did find 4 or 5 pictures, but my search was complicated by the fact that most sites that have public domain images are US sites and they feature images of US things, and there are no primates other than Homo sapiens in North America. Searching the public domain sites is a potential "hangup" area for students however - it is easy to spend a lot of time waiting for images to load or choosing categories that turn out to be not-so-relevant, plus there are a number of sites to visit to make sure all public domain options have been exhausted.
I did find a few images I would love to use of primate teeth, but the copyright for images of these specimens is owned by the University of Michigan Museum Department of Mammology. I have not yet requested permission to use these images.
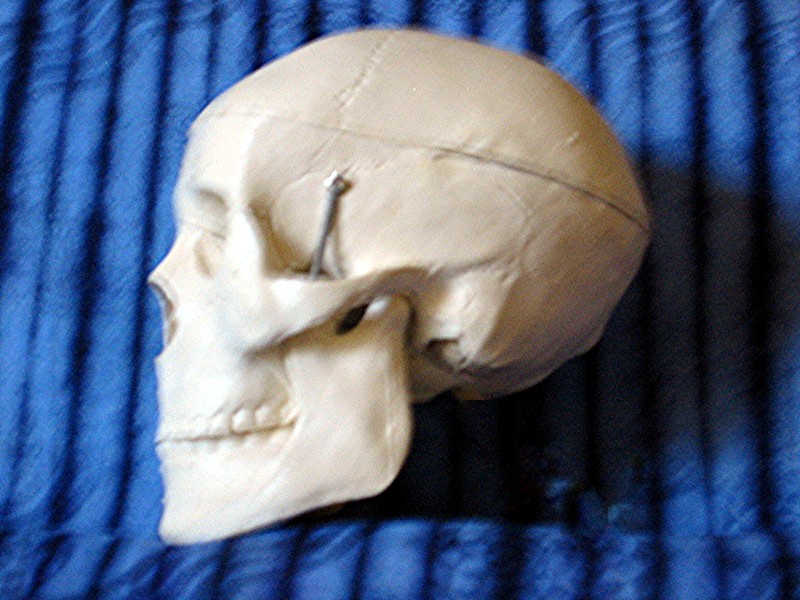
I am still in the process of exploring how to take images or movies that will be relvant to this page - I have a small plastic human skull and was taking pictures of it with a digital camera, but because of the lighting, background, or simple ornriness of the skull itself, all the pictures were blurry.Lisa also suggested that I take a mini-movie of moving my hand in a specific primate way (showing the precision grip that humans are capable of) but this has not happened because it means recruiting my husband to be the cameraman while I show the grip.
Homo sapiens© 2005
Step 7: Figure out which group of organisms you will attach your treehouse to
Figuring out which group of organisms to attach my page to was easy as I already knew I wanted to attach it to the Order Primates.
Step 8: Log-in as a Treehouse Builder
I logged in, having previously registered with Lisa as a treehouse builder and written down in a secret location which email and password I used for this purpose.
Step 9: Add text
Adding text was not as simple as it sounds. I tried to copy text and paste it into the Treehouse Editor directly, and I was able to do that with simple paragraphs, but could not do it with tables. For tables, I had to write my own HTML - tables were covered in the "All the HTML You Need" page, but not things like how to make lines appear between table entries. So my tables are tabular but have no dividing lines. I ended up making tables to store my images in too just because it makes them look neater - in that case I don't really want the dividing lines, just to have the images line up. I later found out that copying and pasting from a Word document into the Treehouse Editor is problematic - Word comes with all kinds of hidden style codes, and to paste without thenm, you need to save your word document as a text file (of the kind you can then open in Notepad).
Step 10: Add media to your page
I generally added media as I went, searching the ToL media library to find appropriate images to illustrate the primate features. I was pleased to find that although the chimpanzee information page is sparse, one contributor had recently uploaded a variety of chimpanzee photos that were available for use anywhere on the ToL.
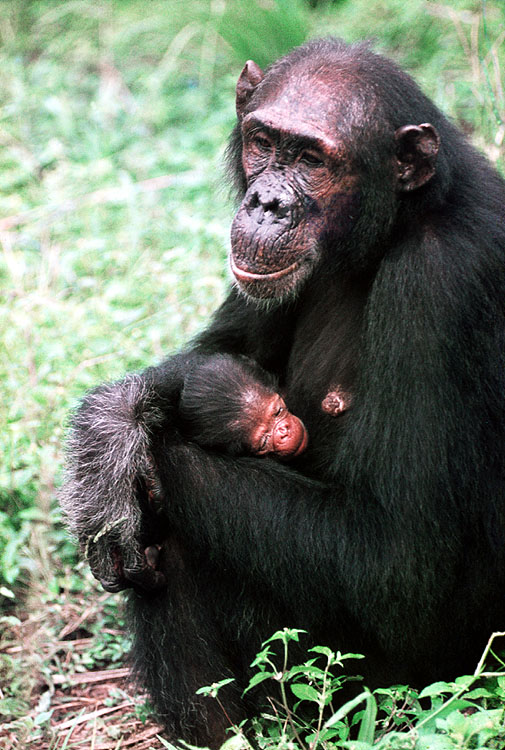
Pan troglodytes schweinfurthii© 2005
Step 11: Submit your treehouse for publication
In preparation for publication, I checked my spelling, made sure all of my references were properly cited, that all my links functioned and my HTML was clean and didn't contain extra junk so that it was easy for the editor, Lisa, to cope with as she finalized my page.
Progressing through the 8 steps in the Treehouse Editor
Step 1: Edit About this Page
This is fairly automatic, if you are the author, copyright owner and correspondent. These three boxes are already checked for you, as is Treehouse Use #2, Use anywhere on the TOL, which should be fine unless your information is somehow proprietary.
Step 2: Edit Page Content
This is the section of the editor that will take the longest to complete, because it is where you construct the bulk of the page. Entering a short and long title are fairly self-explanatory- for the short title I picked "primate features" since that is what the page describes, and the longer title is "What Makes a Primate a Primate?" the investigation question that sparked the page. Editing on this page is becoming easier and easier, especially as we get full functionality from the new image insertion button on the editing toolbar. Most of the buttons on the editing toolbar will be familiar to word-processing-program users, but some, like the anchor and link buttons, are web-page specific and may require some introduction. I found that I ended up checking my work and changing a few things in the HTML, which is not very complicated once you familiarize yourself with how HTML tags ought to look.
Step 3: Upload and Edit Images
As I didn't really have original media, I didn't have many images to upload and edit, and even with the public domain images I added to the ToL media library, I mainly did that outside the context of the treehouse editor, from the main "Contribute Media" page. See Step 6 of "Steps for Building Your Treehouse" above for more information on media and my treehouse.
Step 4: Edit References and Information on the Internet
I had three references to include, and I typed them in after wondering if there was a TOL-wide reference style I was supposed to be following. I had found four internet links I thought were good ones for talking about primate features, three geared more toward college students and adults, and one geared more for younger audiences. I did not have any "People References" although I could talk to a professor or another graduate student for comments if required.
Step 5: Edit Learning Information
For the learning information, I constructed a brief paragraph about my "What Makes a Primate a Primate" treehouse, left "investigation" as the selected Treehouse type, and selected "Intermediate" and "Advanced" learner levels, since this was a page based on what I taught a college class, but constructed so that I feel high school students could also understand primate features.
Step 6: Edit Attach to Group
I knew that I wanted to attach this page to the Primates page, and had previously done a search to insure that there was a page for the order Primates in the TOL. The only piece that kept Step 6 from being completed was that there is a box that asks for the scientific names of the organisms discussed in your page. While all the organisms are primates, I wanted to make sure I put their specific names in this box if I showed an image and/or discussed a particular species in my page.
Step 7: Add notes
On my notes page, I put an abbreviated version of the contents of this page, detailing how I had followed the 11 "Steps for Building Your Treehouse"
Step 8: Publish
In preparation for publication, I checked my spelling, made sure all of my references were properly cited, that all my links functioned and my HTML was clean and didn't contain extra junk so that it was easy for the editor, Lisa, to cope with as she finalized my page.
Portfolio Pages
- Primate Features
- This is the Treehouse Page I constructed following the steps on this Teacher Resource page.
Information on the Internet
- What Makes a Primate a Primate? This is the page I made following the steps on this Teacher Resource page

